Contents
- Requirements
- Suggested solution
- Prerequisite
- Steps:
- 1. Complete ER setup for the bank reconciliation
- 2. Map the Format in the bank module
- 3. Map the format In the Bank master
- 4. Connect the SharePoint with D365
- 5. Create folders in SharePoint
- 6. Create SharePoint locations in D365
- 7. Attach the source file to the ER format
- 8. Create a Bank statement Batch Job
- 9. Checking the file movements in D365
- 10. Configure Power Automate to move the files to SharePoint from Email
Requirements
An automated solution for processing bank statements in Dynamics 365 Finance and Operations (D365 F&O) using Microsoft Power Automate and SharePoint. Below mentioned are the expected flow for the requirement.
- Bank statements will be received via email.
- Power Automate will automatically download the attached bank statement from email and drop it into the SharePoint designated location for processing.
- D365 F&O will check the SharePoint folder and detect the arrival of new bank statement files.
- The system will read and create statement upon detection.
- If any errors occur during the file upload process, D365 F&O will move the affected files to a predefined "Error" folder. Users will be able to review this folder to identify and investigate any failures.
- Successfully processed files will be moved to a "Completed" folder in the SharePoint for future reference and audit purposes.
Suggested solution
(The document seems to jump directly into prerequisites and steps after this heading. If there was specific content for "Suggested solution", it should be added here.)
Prerequisite
- Power Automate access and subscription.
- SharePoint admin access.
- Azure admin access to run the PowerShell command.
- Import ER model for the bank reconciliation (Custom or MT940 standard).
Steps
1. Complete ER setup for the bank reconciliation
Here I am using custom bank statements format in the ER for the reconciliation. Bank not providing MT940 format for this customer.
Standard reconciliation model extended and added new format mapping for the custom design.
2. Map the Format in the bank module
Map the ER format to the bank statement format in the cash and bank module in D365.
3. Map the format In the Bank master
4. Connect the SharePoint with D365
a. Establish the write and delete access to D365 finance and operation in SharePoint.
One time registration process
In Dynamics 365 finance and operations version 10.0.40 and later, when the SharePoint user authentication feature is enabled, your organization needs to perform a one-time setup to use the SharePoint integration for non-interactive batch scenarios. This is because the Microsoft-managed high-trust connection between the finance and operations environment and SharePoint has been deprecated.
With this updated SharePoint authentication mechanism, batch connections utilize application access. As this access is not granted by default for tenants, an Entra ID tenant administrator needs to be manually grant access one time for the tenant. This can be done by running the following PowerShell commands to provide the required application consent for finance and operations batch scenarios to connect to SharePoint.
Run PowerShell as administrator in the local system (any laptops)
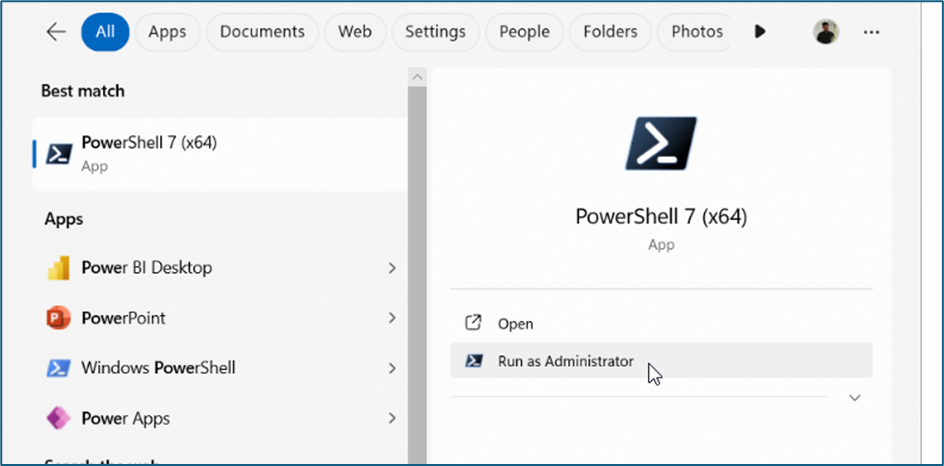
Run below codes in PowerShell. Suggested to keep PowerShell latest version, here my version is v7.5.0

My test PowerShell command image
Install the Microsoft Graph
Select the respective folder in the local machine using PowerShell for the installation of the file and run the below command.
Install-Module Microsoft.Graph -Scope CurrentUserImport the module to run command
Import-Module Microsoft.Graph.ApplicationsConnect Graph using PowerShell
Connect-MgGraph -TenantId microsoft.onmicrosoft.com -Scopes 'Application.ReadWrite.All'*Replace the ‘microsoft.onmicrosoft.com’ with user tenant ID.
Once click the enter button for the above command a browser will open for the authentication.
For the authentication, use the azure portal admin account.
Once connected successfully below message will receive:
Activate service principal
Run below 3 lines of command (copy and paste)
# These AppIds do not change as they are the first party application IDs
$erpServicePrincipal = Get-MgServicePrincipal -Filter "AppId eq '00000015-0000-0000-c000-000000000000'"
$sharePointServicePrincipal = Get-MgServicePrincipal -Filter "AppId eq '00000003-0000-0ff1-ce00-000000000000'"
$spAppRole = $sharePointServicePrincipal.AppRoles | where {$_.Value -eq 'Sites.ReadWrite.All'}

# Assign the SharePoint 'Sites.ReadWrite.All' permission to the Microsoft Dynamics 365 finance and operations application
New-MgServicePrincipalAppRoleAssignedTo -ServicePrincipalId $erpServicePrincipal.Id -PrincipalId $erpServicePrincipal.Id -ResourceId $sharePointServicePrincipal.Id -AppRoleId $spAppRole.Id
“Now the Connect with D365 and SharePoint is established for the delete and update“
b. Map the SharePoint in D365
In the default SharePoint server, field mention the SharePoint URL. And click on the Test interactive SharePoint connection and Test batch SharePoint connection.
If the connections are established. Below message will receive.
5. Create folders in SharePoint
Created 2 folders inside the Bank Reco folder.
When new bank statement came from the bank through mail, power automate will bring that file to Bank Reco folder in the SharePoint folder, if the file processed successfully, file automatically move to the completed folder. If any error occurs that file will move to the error folder. So, user can easily identify the error files.
6. Create SharePoint locations in D365
Here we are mapping the SharePoint folders in D365.
Mention the code for the file in the Type code field. Here I am given as Bank Statement, BS Completed and BS error.
In the Name field mention the name of the file.
In location, Select SharePoint.
Click on the Edit button in the SharePoint address field.
Now it will connect to the SharePoint site mentioned in the 4.b Session.
Here we can see all the folders, sites and forms in the SharePoint folder. Navigate and select the correct folder.
Click Ok
Now the address is updated in the SharePoint address field.
Like the same create all 3 folders: Bank statement, BS Completed, BS Error
7. Attach the source file to the ER format
Now we are attaching the document type to the ER format. When we run the ER format. It will pick the file from the defined source only.
Select the ER format from the drop down.
Click on Save button
Click New in the file source area.
In the name field mention the name for the file
In the file name mask, Type the bank statement extension(*.CSV). If the extension is not mentioned here, system will pick all the file types in the folder for the process.
Click on the settings button above the line.
Enable the SharePoint toggle.
Select the document types as mentioned above from the drop down.
8. Create a Bank statement Batch Job
9. Checking the file movements in D365
10. Configure Power automate to move the files to SharePoint from Email
(The document ends here. Details for this step would be added if available.)